

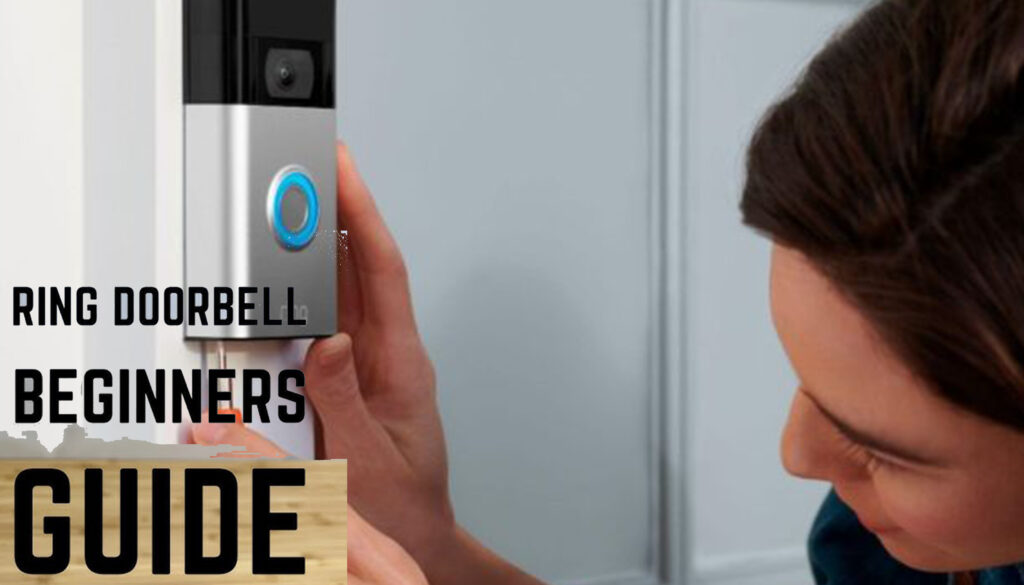
How to Install a Ring Doorbell – One of the simplest smart home devices to set up is the Ring doorbell. This home security system is highly popular and one of the earliest smart doorbells developed. The Ring doorbell features a motion-activated camera, a microphone, and a speaker so that when someone approaches your front door, the doorbell illuminates and alerts you. Then, you can view the person and communicate with them.
This doorbell is an ideal choice for monitoring deliveries when you’re not at home. And over time, Ring doorbells have consistently ranked among the best home security devices.
However, if you’re unsure about how to install the Ring doorbell, there’s no need to worry. Installing the Ring doorbell is straightforward and should typically take around 45 minutes, depending on the model you’ve purchased.
How to Install a Ring Doorbell
Installing a Ring Doorbell is pretty easy. However, if you are finding it difficult to do, here are easy steps you can follow below:
Step 1: Gather All Your Tools
While the contents of each Ring doorbell kit may vary slightly, they typically include all the essential components for installation: screws, a screwdriver, installation instructions, and charging cables.
For the installation of your Ring doorbell, you may also require a drill, especially if you’re mounting it onto brick. However, it’s worth noting that the Ring Video Doorbell Pro and the Ring Video Doorbell 2 both come equipped with a masonry drill bit, which significantly simplifies the installation process.
Step 2: Charge The Door Bell Battery
As soon as you have your Ring Doorbell unboxed, find the battery and plug it into power by using the charging cable included in the kit. Note that, you need to carefully get the battery out of the doorbell because it is designed to easily pop out as soon as the doorbell is fixed to the wall.
Also, it’s suggested that you hold the Ring doorbell against a flat surface to remove the charging cable. As soon as the battery is plugged in, there will be a red light and a green light to indicate that the battery is charging.
The Ring Doorbell takes at least 4 to 6 hours to charge. As soon as the battery is charged, the red light will go off, and then you will see only the green light.
Step 3: Connect to The Internet
After charging the battery, the next step is to connect to the internet. However, to connect your doorbell to the internet, you need to download the Ring mobile app and then follow the onscreen prompt to link your Ring Doorbell to your Wi-Fi network.
Then the app will take you through every detail that you need, and it takes only about 10 minutes to set it up.
Step 4: Shut Off Power
Next, you can head over to your home’s breaker box and then turn off the power to your doorbell. This is only for safety purposes because you will be working with exposed wiring. You can skip this part if you do not have an old doorbell and won’t be messing with any wires.
Step 5: Get Rid of the Old Doorbell
If you were formally using a doorbell, after getting this one, you are required to get rid of the old one. To do so, use a screwdriver to remove the old doorbell faceplate.
After that, you can unscrew the old doorbell from the wall and then pull it out gently, which will expose the two power wires.
The doorbell wires will still be around the screws inside the previous doorbell, so you have to be careful with this part so that you won’t damage these wires. Loosen the screws gently to detach the wires and remove the old doorbell.
Step 6: Attach a Mounting Bracket
After removing the old doorbell, there should be a hole where the old doorbell is, along with the doorbell wires sticking out. Before attaching the mounting bracket, you need to open your Ring Doorbell app and then the doorbell’s live video feed.
Once you have done that, you can now follow the steps below to attach a mounting bracket:
- Hold Your Ring Doorbell Up: You need to hold the doorbell up against the surface over the hole in the exact spot where you are going to mount the doorbell, and then check the picture on your mobile device to ensure that you are getting the exact angle that you want.
- After deciding on a placement, you can use the included level tool to ensure the mounting bracket is straight and then make use of a pencil to mark the location of the screw holes. As soon as they are marked, you can get rid of the level.
- If you want to use an angle mount, then you can go ahead and attach it to the wall by screwing them in and then attaching the mounting bracket to it.
Step 7: Attach Doorbell Wires
After attaching the mounting bracket, the next thing to do is to add the doorbell wires. Now, if you want to connect the ring to your current doorbell chime to make the battery life last longer, you can then attach the two doorbell wires to your ring.
However, if you do not have an existing doorbell, then you can skip this part. But ensure that you buy a ring chime for a traditional doorbell experience.
So, to attach your doorbell wires, firstly, you need to loosen the two screws on the mounting bracket that is located over the hole where the wire is sticking out of the wall.
Next, you take the wires and wrap them around the screw. Ensure that each of them has a good connection to the screw. Also, make sure that you tighten the screw gently if needed.
Step 8: Mount the Ring Doorbell
Once you are done attaching the wire, you can now mount the ring doorbell. To do this, make sure that you position your Ring Video Doorbell above the bracket, and then press in and down until it is in the right place. It is also okay to use just a little bit of force.
Step 9: Restore The Power
Once you are done mounting the doorbell, it is time to switch the breaker on to make the device go live. Test it to ensure that everything is working fine.
If you have the Ring Video Doorbell wired to your chime and it is not chiming, then you can get rid of the faceplate and check that your connections are safe.
If everything is in order, then you can screw the security screws into the underside of the faceplate by using the small end of the included screwdriver.
Step 10: See The App Preferences
With the above, your doorbell installation process is completed. Then you can make use of your Ring app to play with the features, choose the kind of notification that you want, set your motion detection, and night vision, and also choose what areas you want the camera to cover.
How to Install the Ring Chime with the Ring Video Doorbell
If you would like to hear the chime each time your Ring Doorbell is ranged just like the traditional doorbell, then you can buy the Ring Chime, which is sold separately, and also the Ring Chime Pro.
However, the Chime can be used with a battery-powered or wired Ring doorbell. The steps below will show you how to install the Ring Chime:
- Plug the Ring Chime into an electrical outlet between your Ring doorbell and your Wi-Fi router.
- Open the Ring doorbell app on your mobile device.
- Click Set up device.
- Select Chime or Chime Pro, depending on the device you have.
- Select Chime or Chime Pro.
- Follow the on-screen instructions.
- Next, connect your doorbell to your Chime by launching the app and clicking Chime Pro.
- Click Linked Devices.
- Search for your doorbell in the list and click Connect to Chime.
- Next, follow the steps to finish the connection.
By following the steps listed above, you will be able to install the Chime on your Ring doorbell.